

Hi and welcome to the second part of the blog of my personal DIY curved screen. In the previous blog post I showed you drawings and told you how to do it, in this post I'm going to show you how my screen looks when it's finished and correct the first post a bit.
If you haven't read part 1
My Personal DIY Curved Screen - Part 1
Correction
First I have to correct something from the previous post, in this picture:
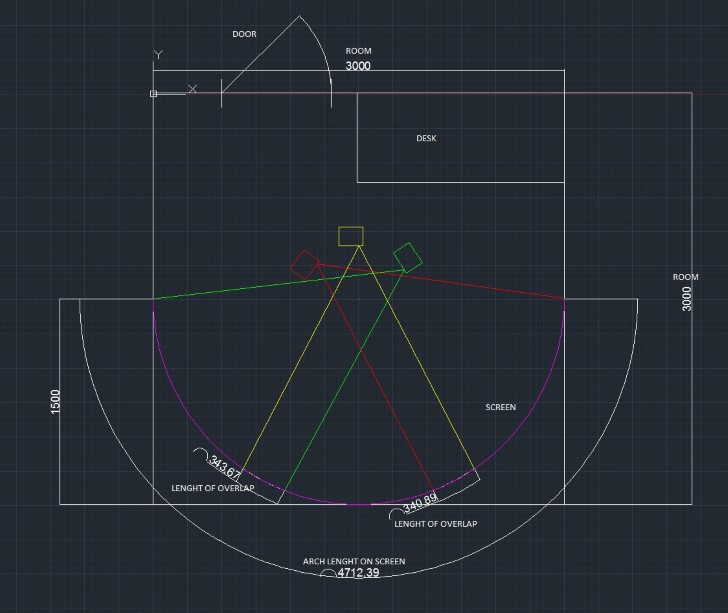
“Length of overlap” is not correct since the projector will have a bit of keystoning.
You do not want to use any keystone correction. Keystone adds latency since the picture has to be processed by the projector. The projectors have to have the same setup, 0 keystone correction and color management.
The finished result will be much better if you only use your warp and blend software for warping, edge blend and overlap.
My finished screen setup
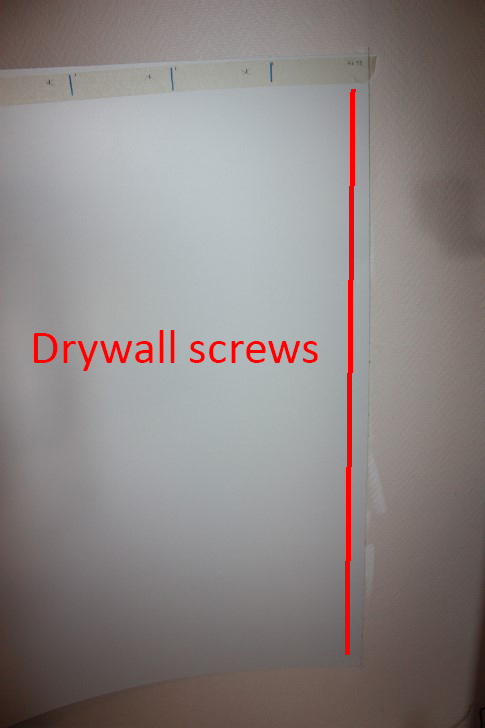
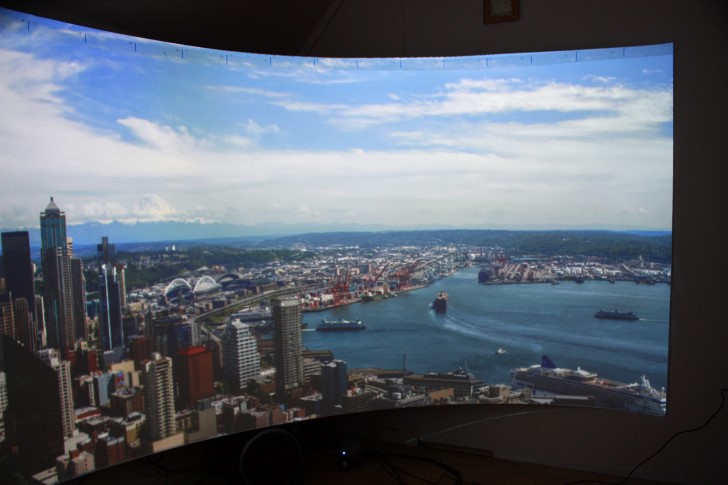
Here is my finished screen, I will show you where i fixed it in place with the drywall screws. The room needs a renovation, so I haven't been very strict with taping of the walls.
The tape with markings on, I will get back to this. The screen may look "warped", it's the tape that makes it look warped, the tape is not straight at all.
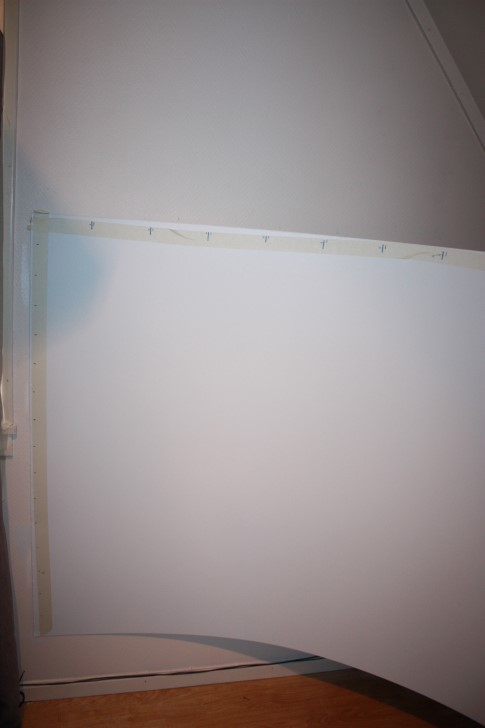
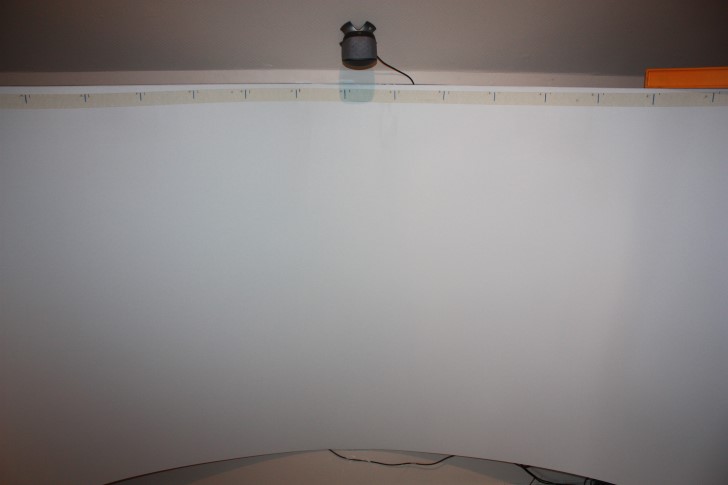
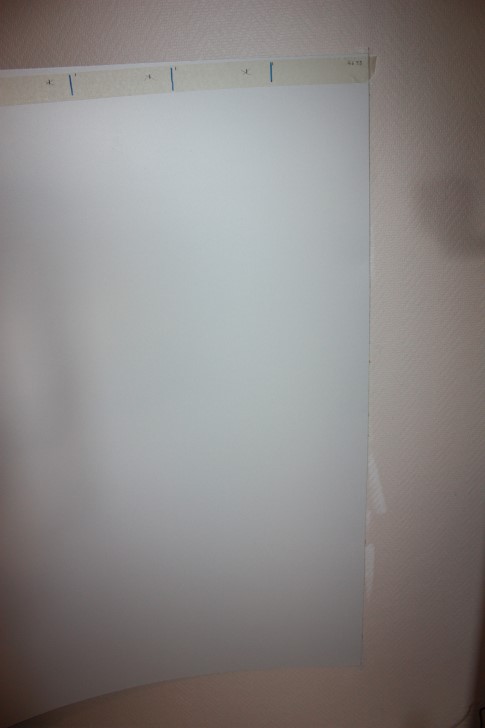
As you can see, the screen itself only hangs by its ends. Still it is in level.
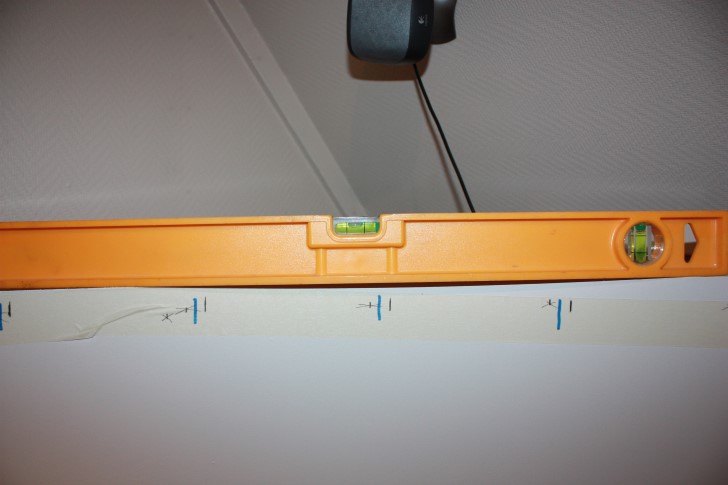
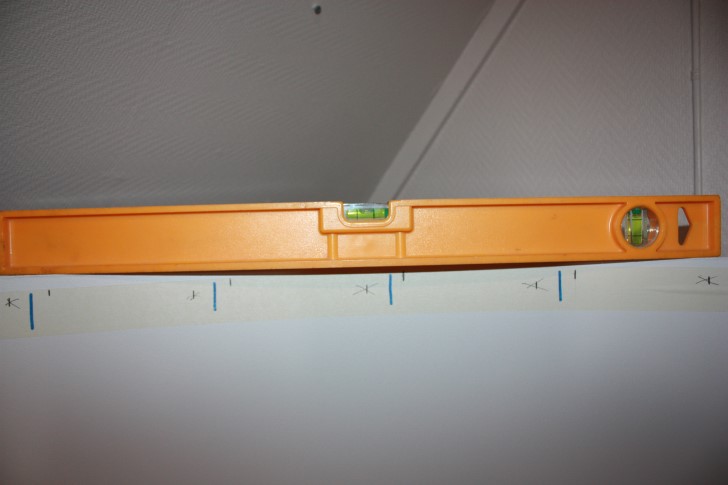
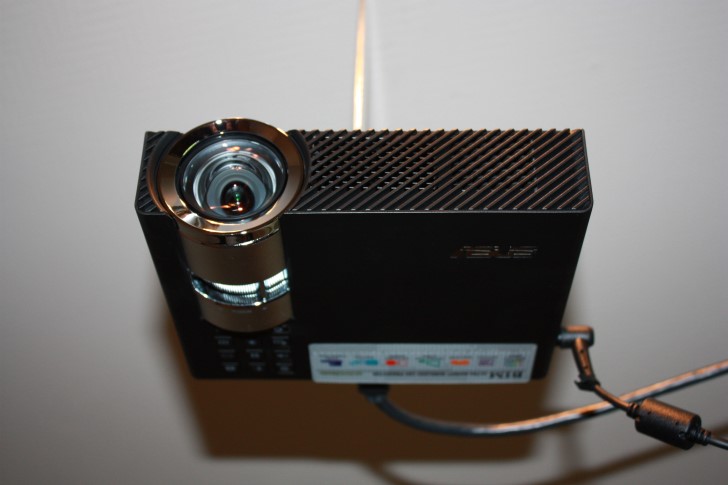
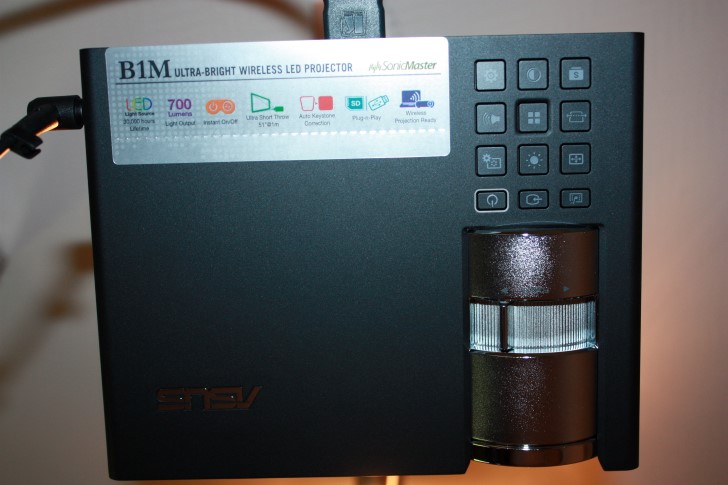
The projector I'm using at the moment is ASUS B1M, LED, 700 ANSI Lumens, 3500:1 Contrast, WXGA and 0.9 Throw ratio/Short Throw.
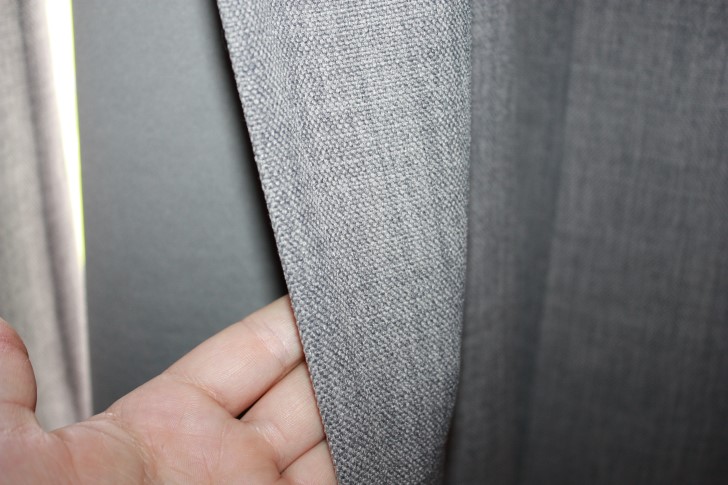
To keep the light out of the room I used grey blackout curtains. I WANTED black, but my girlfriend refused. They work just as good as black I think.
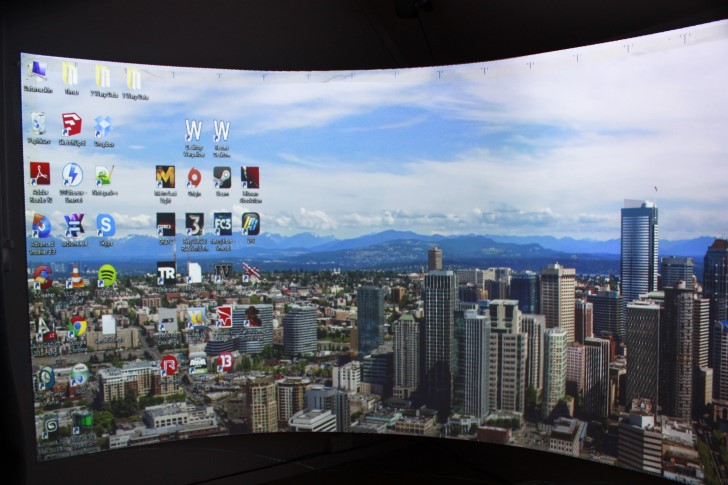
This is my desktop with Desktop Warpalizer running.
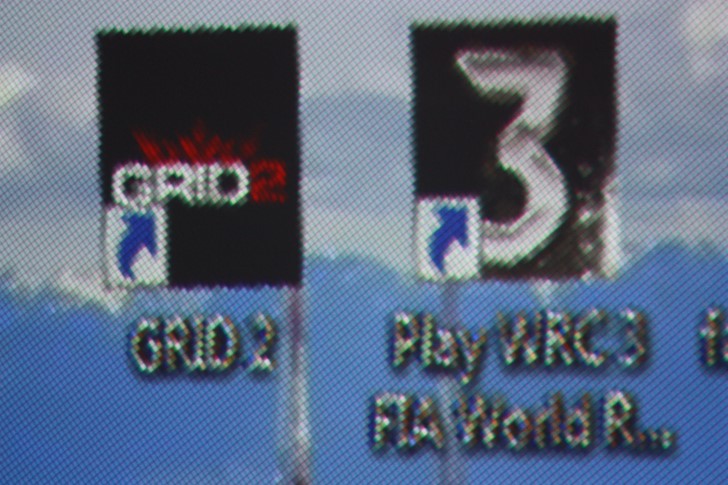
This is a common "problem" for many short throw projectors, "TI DLP® “Diamond” Pixel". Not a issue that's visible when gaming or watching movies, but on Windows Desktop and text editing it's visible. I'd recommend this article for reading more about this issue. Every pixel is turned 45 degrees.
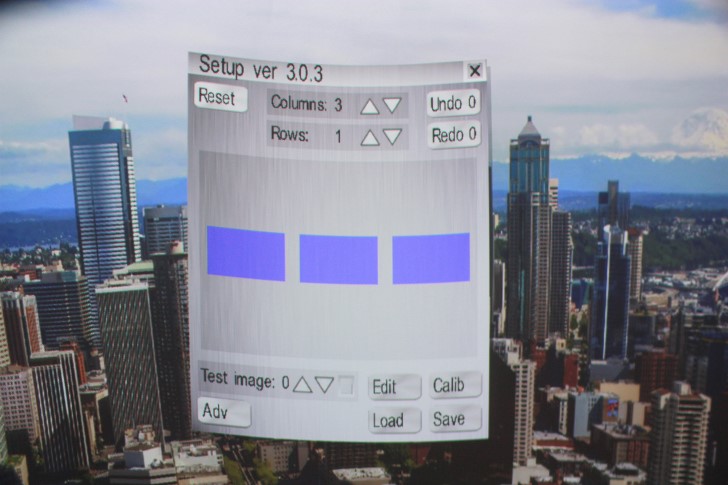
If you press "Shift + F2" this window will pop up, this is the Warpalizer setup window. Sorry for the really bad picture.
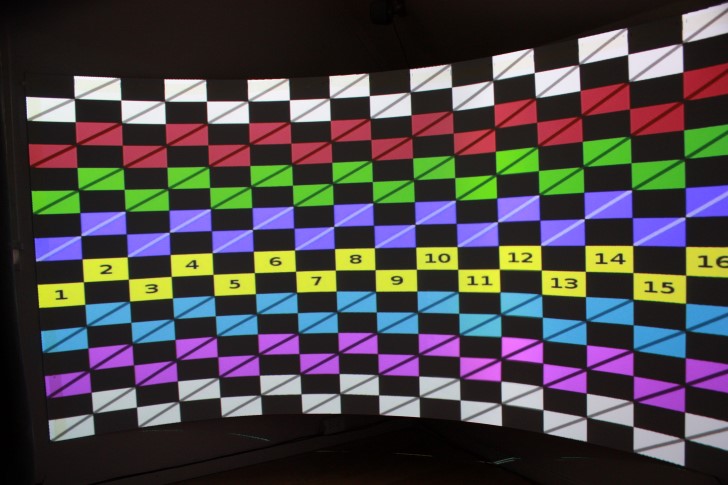
This is one of the test images for setting up Warpalizer. This is why I had tape and markings; I measure the length of the arch and divide it into 32.
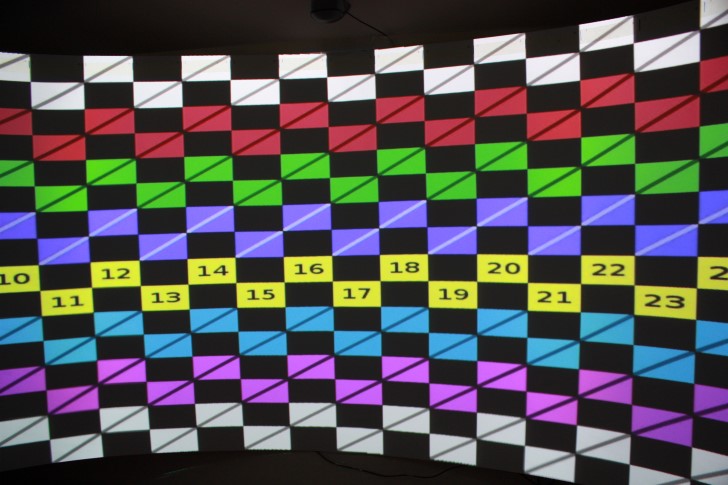
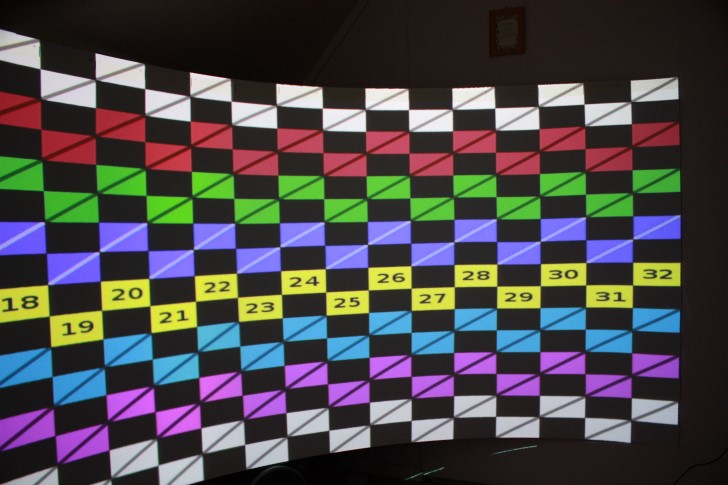
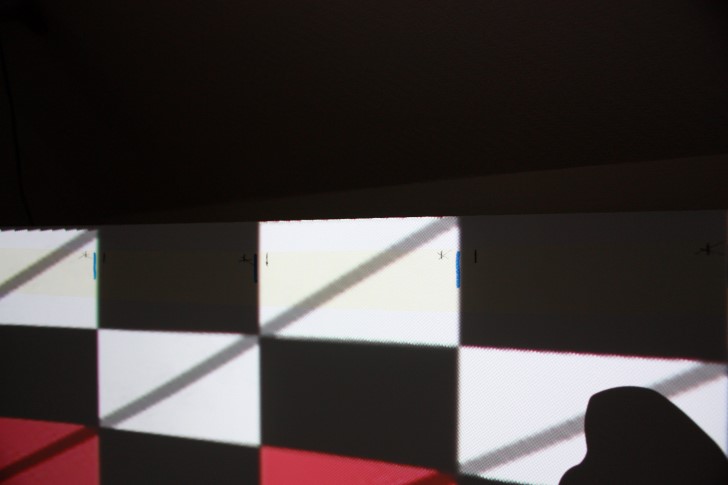
When you press "Edit" in the main Warpalizer setup window, this window will come up.
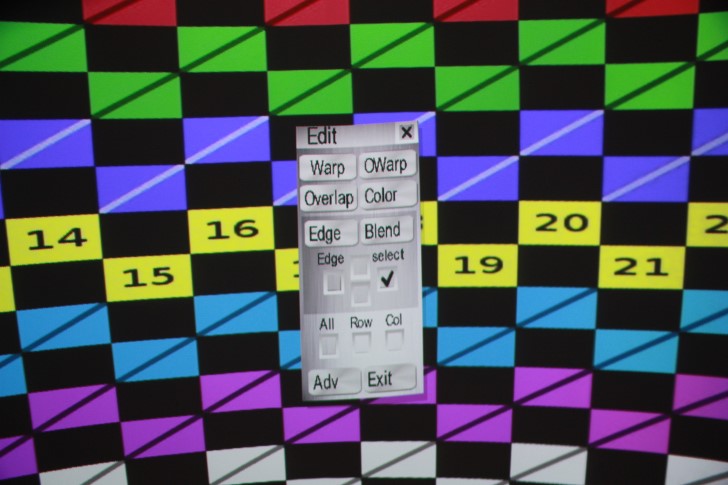
Press "Warp" and the warping mesh will open up on the chosen projector. You can double and half/reduce control points.
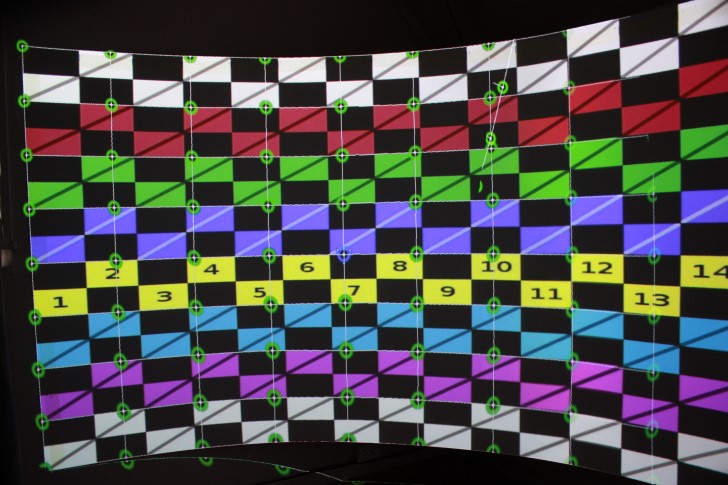
You can also warp without test images.
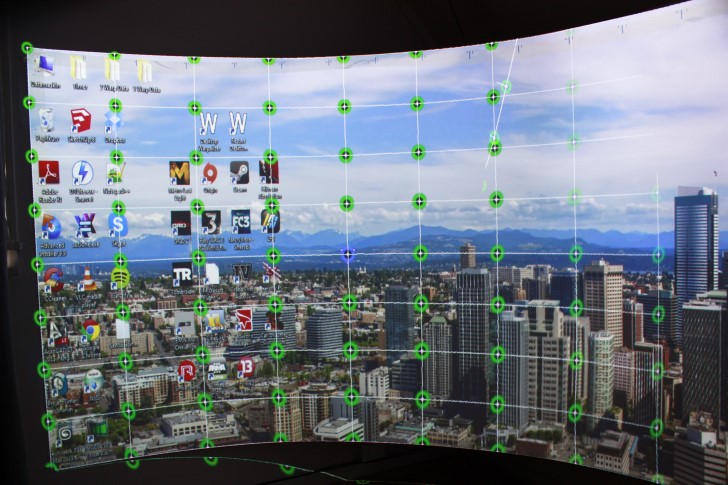
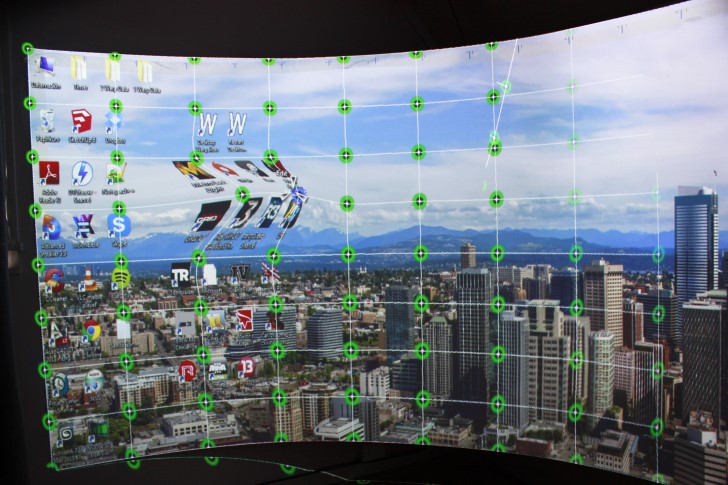
Gaming teaser's
This one is from RaceRoom Experience
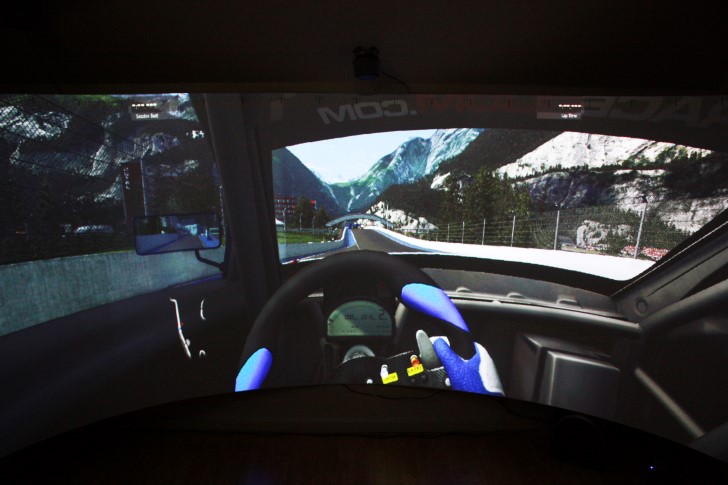
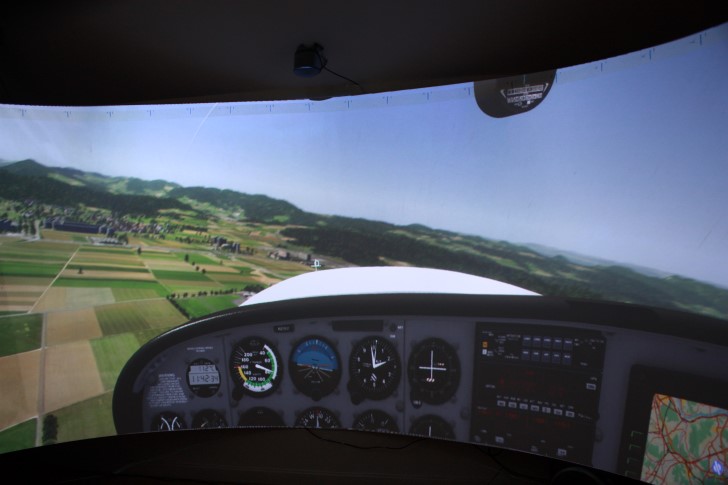
AeroFLY
Call Of Juarez Gunslinger, I tried to get the whole screen in the picture here, but my room is too small. Or I need another lens for the camera.
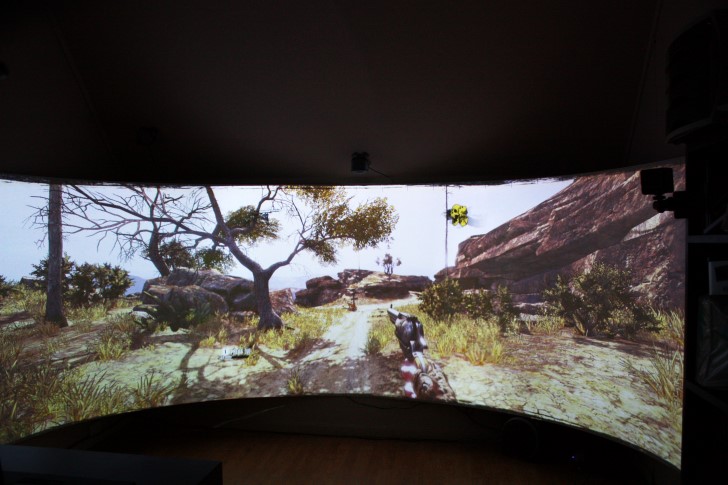
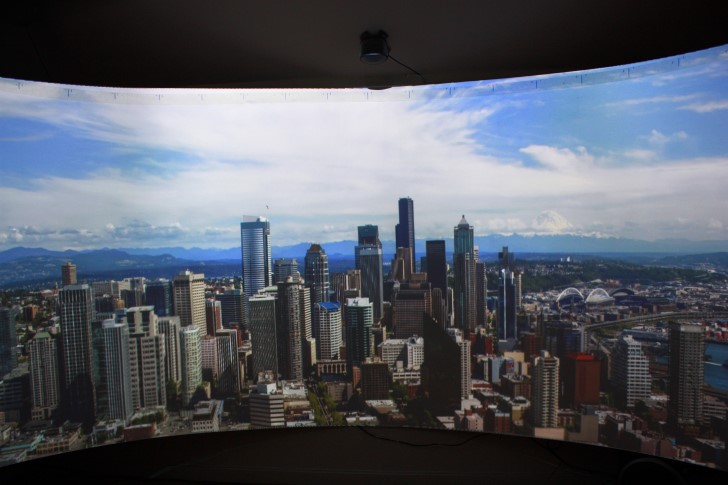
The screen ended up being 3m wide with 1.5m depth. When you sit in the middle the horizontal FOV is 180 degrees and vertical FOV is 44 degrees.
Some may think 180 degrees FOV is much, but I love racing games and this FOV makes the game really immersive.
Next post I will try to get some gaming video footage and pictures, what games would you like to see?